
While staff-attended check-ins are the most common setup, a self check-in kiosk offers a convenient, unattended option for clients to check in for facility access, or specific services like classes and appointments.
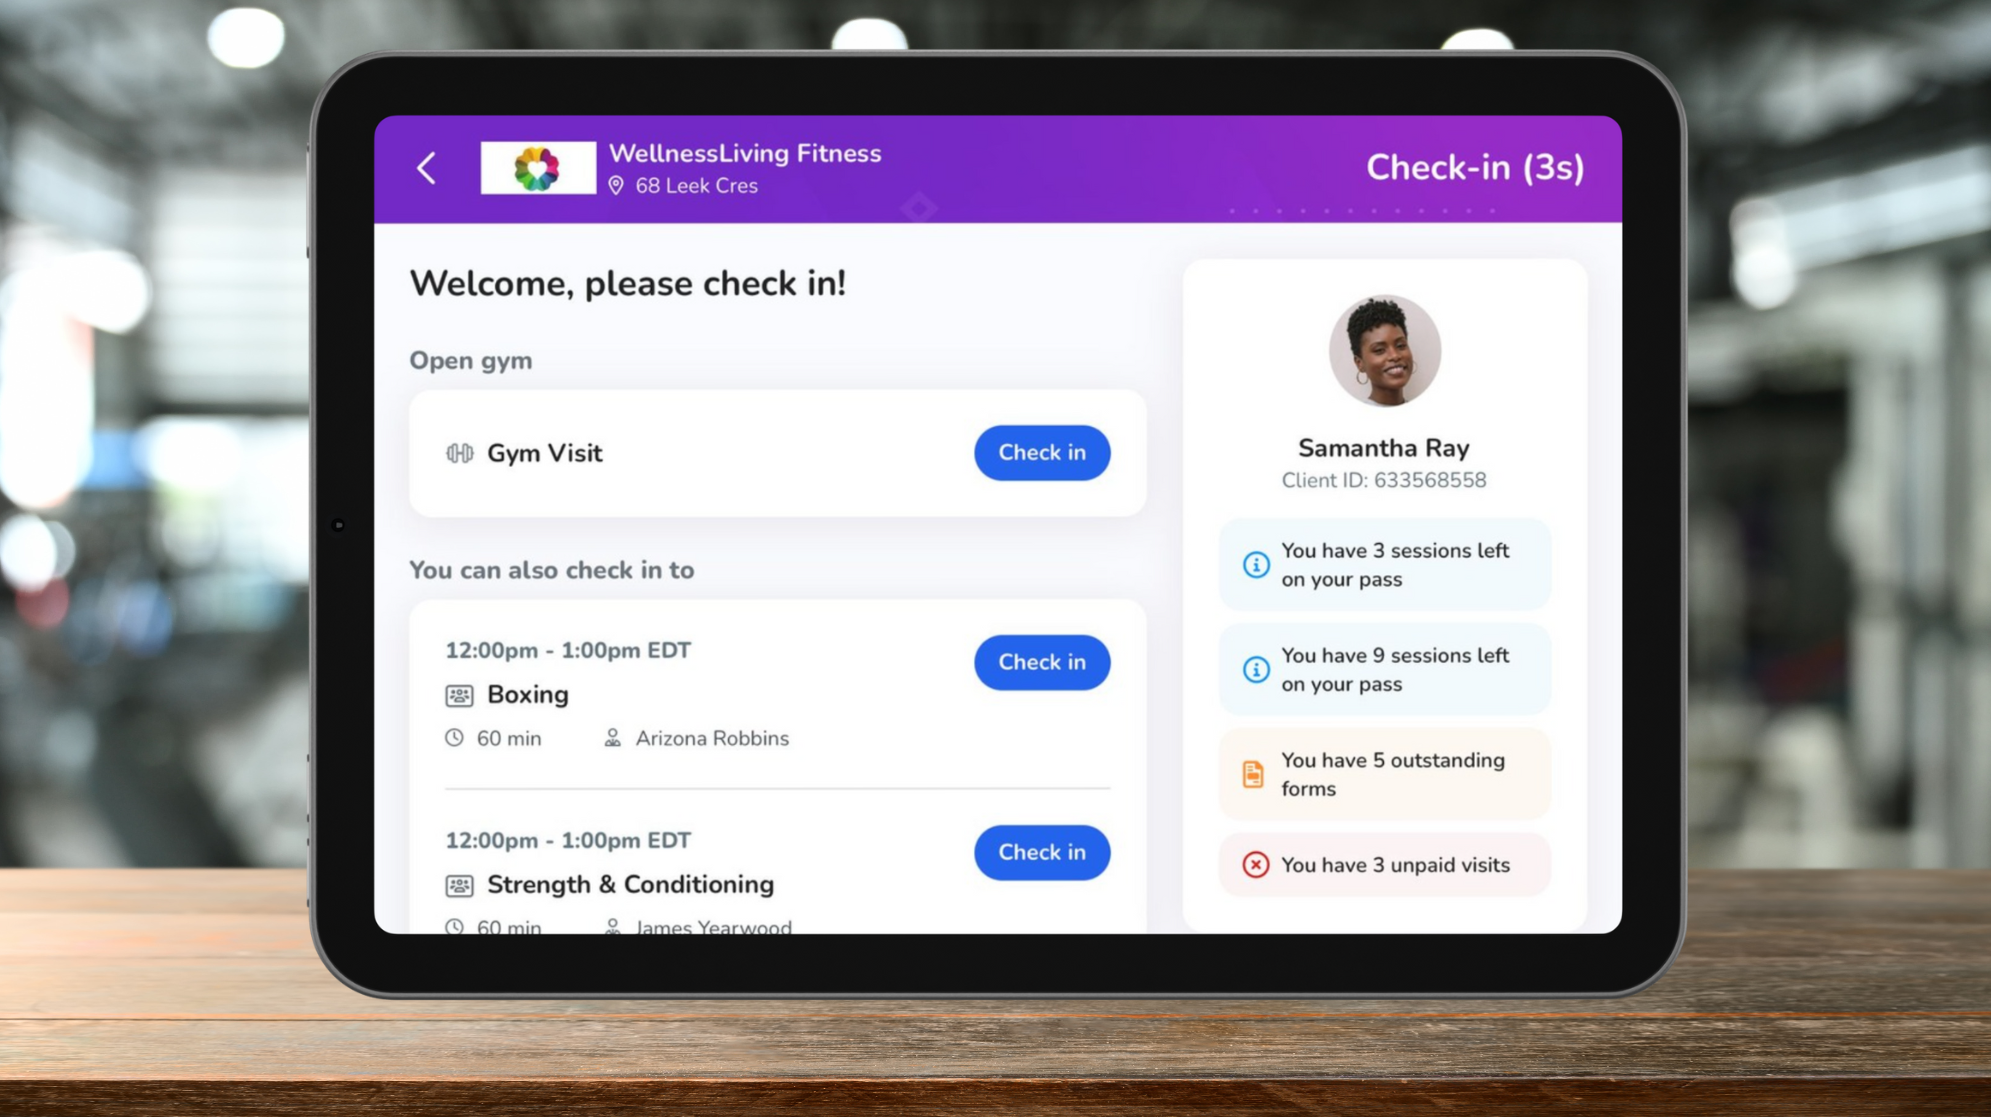
Client self check-ins sync directly with the Staff Back Office, automatically updating attendance lists and reports. You can also fully customize your kiosk with your brand's logo and colors to provide a seamless and branded experience.
Kiosk Check-In Methods
The new Self Check-In App is the best way to set up a self check-in kiosk for clients. Download the Self Check-In App from the Apple App Store or Google Play Store onto an iPad or tablet that will be used only as a check-in kiosk.
For the fastest check-in process, connect a barcode scanner, and place your new kiosk in an easily accessible area with signage to direct clients to check themselves in. The easiest way for clients to check in is by scanning their key tag or barcode through the Achieve Client App on their mobile device, and they can also check in manually by entering their WellnessLiving credentials.
Scan & Go
A "Scan & Go" check-in is ideal for quick and seamless check-ins for businesses who have open gym visits, classes, or straightforward appointments.
Scan - Clients scan the barcode on their key tag or app, and they're automatically checked in.
Go - Distinct check-in success or failure tones play, allowing staff to step in if needed.
For extra accountability, you can also choose to display a confirmation screen.
Select & Go
A "Select & Go" check-in is great for businesses who prefer that clients confirm the selected service they're checking into. This step ensures accurate attendance, and a smooth self-service experience, all without front desk assistance.
Scan - Clients scan the barcode on their key tag or app to get started.
Select - Choose to check into pre-booked appointments or classes or join an upcoming session.
Go - Clients can visibly confirm check-in on the screen and hear check-in success or failure tones.
Physical kiosk area
Setting up a self check-in kiosk can boost efficiency, but it's essential to consider the physical space. Placing the kiosk in a convenient, accessible location ensures a smooth flow for clients and enhances their experience.
Here are some tips to help you set it up for success:
Location: Place the kiosk near the entrance for easy access.
Clear Instructions: Display simple, visible steps for check-in.
Reliable Internet: Ensure a stable connection for smooth syncing.
Brand Customization: Create branded signage for a professional look.
Backup Plan: Give clear instructions on what to do in case of technical issues.
Our Recommendation | Alternative Options | |
|---|---|---|
Kiosk type | NEW! Self Check-In App | Self Check-In Kiosk (Web-based) |
Device | Download on an iPad or tablet | Open link on an iPad, tablet, desktop, or laptop computer |
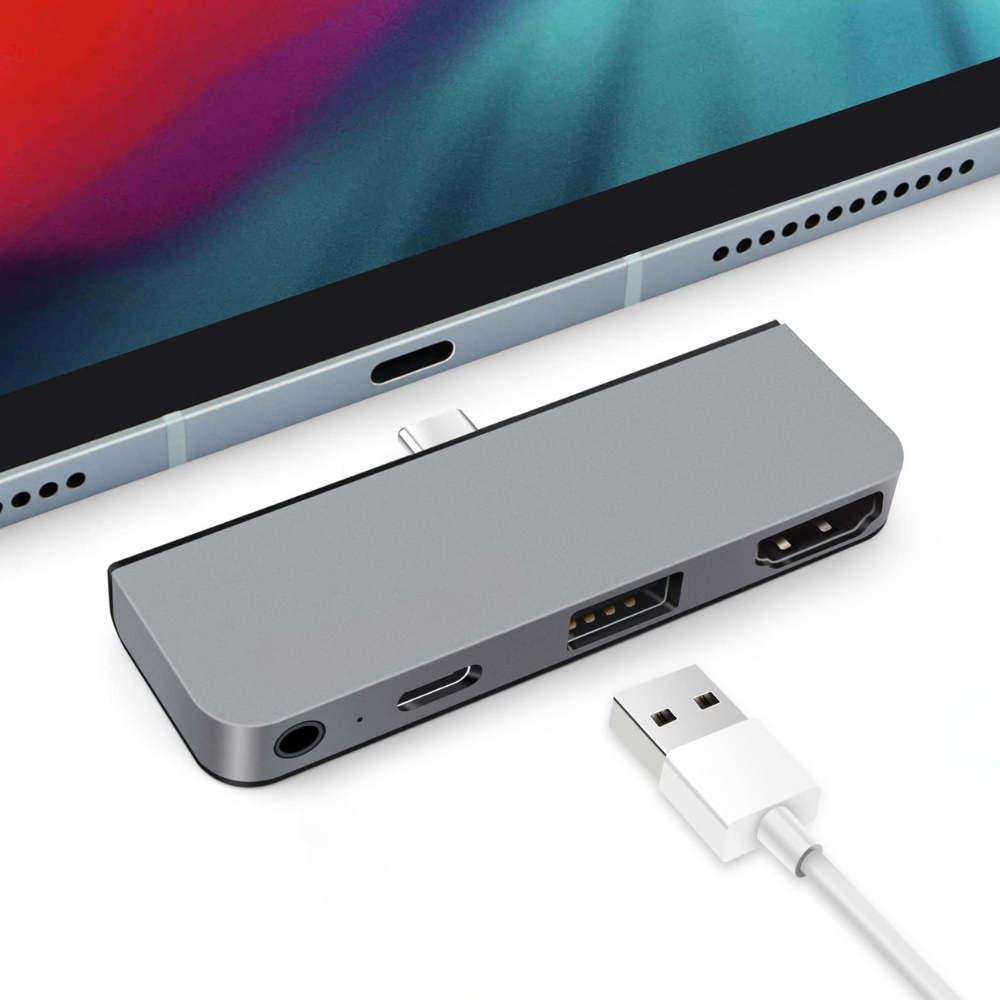
Hardware | Barcode scanner (fastest option)
 | No hardware |
Self check-in kiosk settings
Below we've highlighted settings that affect clients' ability to check in using your kiosk. Settings changes apply to both the Self Check-In App and Web-based Kiosk. Be sure to sign out and sign back in to the app after updates.
Our Recommendation | Alternative Option |
|---|---|
Allow Late Check Ins: ON | Allow Late Check Ins: OFF |
Allow Clients to Check In to a Session They Haven't Booked: ON | Allow Clients to Check In to a Session They Haven't Booked: OFF |
Allow Automatic Client Self Check-In to Occur Up to __ Minutes Before a Session Begins: OFF | Allow Automatic Client Self Check-In to Occur Up to __ Minutes Before a Session Begins: ON |
Be sure to also review Allow Clients to Check In Unpaid and Reconcile Unpaid Visits Automatically After Checking In to configure how you'd like your kiosk to work in relation to unpaid visits.
Finally, set up your check-in methods, timer settings, and sound settings according to your business preferences.
To configure these settings, go to Setup in the App Drawer, then click Check-In Settings. Check out the Self Check-In Kiosk Settings section for more information on how to configure the additional settings that affect your kiosk setup.
Service-specific business policy settings
Service-specific business policies can be used for situations where a service needs to be differentiated from what is set up in the business policies for your business. Each service can be configured to work differently during client self check-in by adjusting the service-specific business policies.
Below we've highlighted the most important self check-in settings to consider in the Client Attendance App & Client Self Check-In Policy section found in the Custom Business Policies of each service. These changes also affect the Attendance app which is used to check clients in for classes and events.
To find these settings, open the service from your schedule or service list, then navigate to Business Policies and look for the Client Attendance App & Client Self Check-In Policy section.
Our Recommendation | Alternative Option |
|---|---|
Allow Late Check Ins: ON | Allow Late Check Ins: OFF |
Define Look Ahead Window for the Self Check-In App/Kiosk: 90 or more mins | Define Look Ahead Window for the Self Check-In App/Kiosk: 30 mins or less |
Allow Client Self Check-In: ON | Must be enabled for kiosk functionality. |
Allow Automatic Self Check-In: ON | Allow Automatic Self Check-In: OFF |
Automatically Generate Client IDs for New Clients: ON | Automatically Generate Client IDs for New Clients: OFF |
Again, you can review Allow Clients to Check In Unpaid and Reconcile Unpaid Visits Automatically After Checking In if you'd like to configure how your kiosk operates when it comes to unpaid visits at a service-specific level.
For more details on the many check-in options available, and for guidance on all of the settings and business policies that affect check-ins, see our Check-in settings manual.